Installing the Desktop Synchronization Client
System Requirements
- Windows 7+ (64-bit only)
- macOS 10.7+ (64-bit only)
- CentOS 6 & 7 (64-bit only)
- Debian 8.0 & 9.0
- Fedora 25 & 26 & 27
- Ubuntu 16.04 & 17.04 & 17.10
- openSUSE Leap 42.2 & 42.3
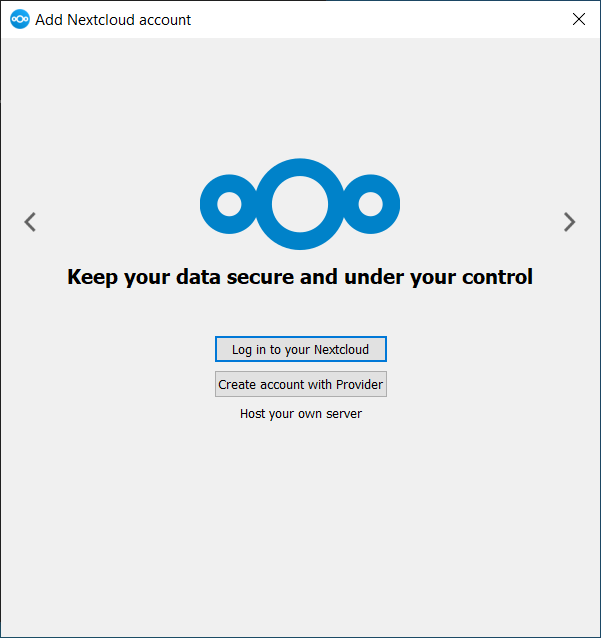
Installation Wizard
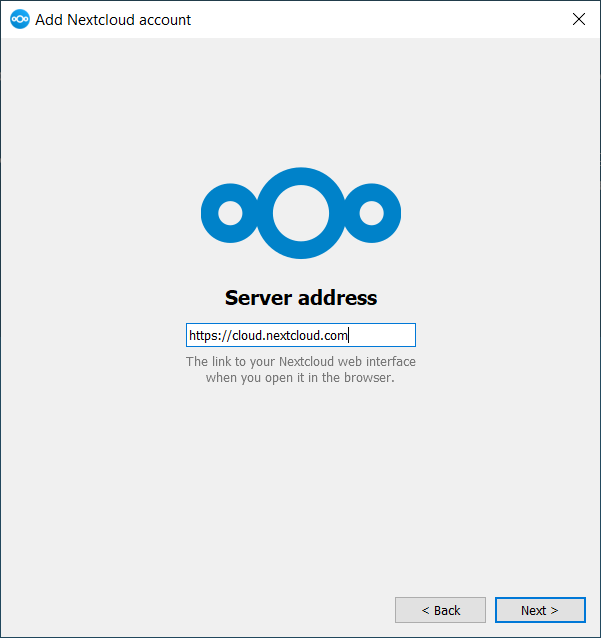
The installation wizard takes you step-by-step through configuration options and account setup. First you need to enter the URL of your cloudShare server.
Enter your cloudShare login on the next screen.
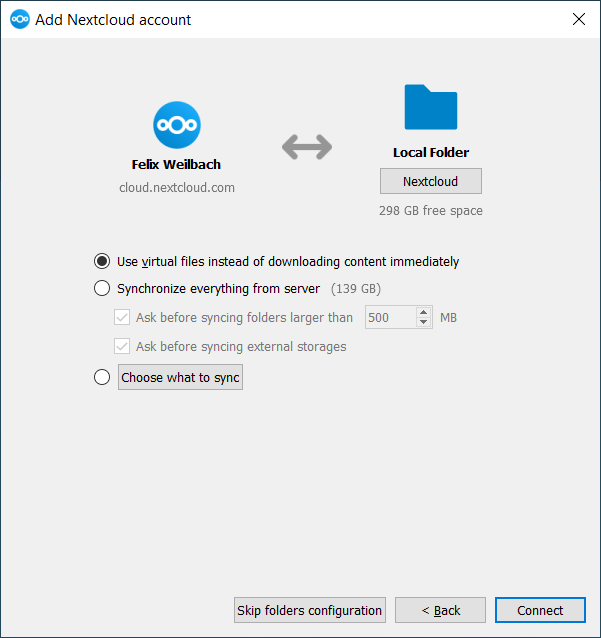
On the Local Folder Option screen you may sync all of your files on the cloudShare server, or select individual folders. The default local sync folder is cloudShare, in your home directory. You may change this as well.

When you have completed selecting your sync folders, click the Connect button at the bottom right. The client will attempt to connect to your cloudShare server, and when it is successful you’ll see two buttons: one to connect to your cloudShare Web GUI, and one to open your local folder. It will also start synchronizing your files.
Click the Connect button, and you’re all done.


