การทำ Local Billing ผ่านทาง Cloud HM เพื่อใช้บริการของ AWS มีอยู่ด้วยกัน 2 รูปแบบคือ
- ลูกค้าที่ไม่มี AWS Account
- ลูกค้าที่มี AWS Account
รูปแบบที่ 1 – ลูกค้าที่ไม่มี AWS Account มีขั้นตอนดังนี้
STEP 1.1 - แจ้งให้ Cloud HM ทำการ Create AWS Account ของท่าน โดยท่านต้องระบุข้อมูลให้ Cloud HM ดังนี้
ข้อมูลที่ต้องการ: e-mail address ที่จะใช้สมัคร AWS Account
STEP 1.2 - ตรวจสอบ Inbox ใน e-mail address ของคุณ
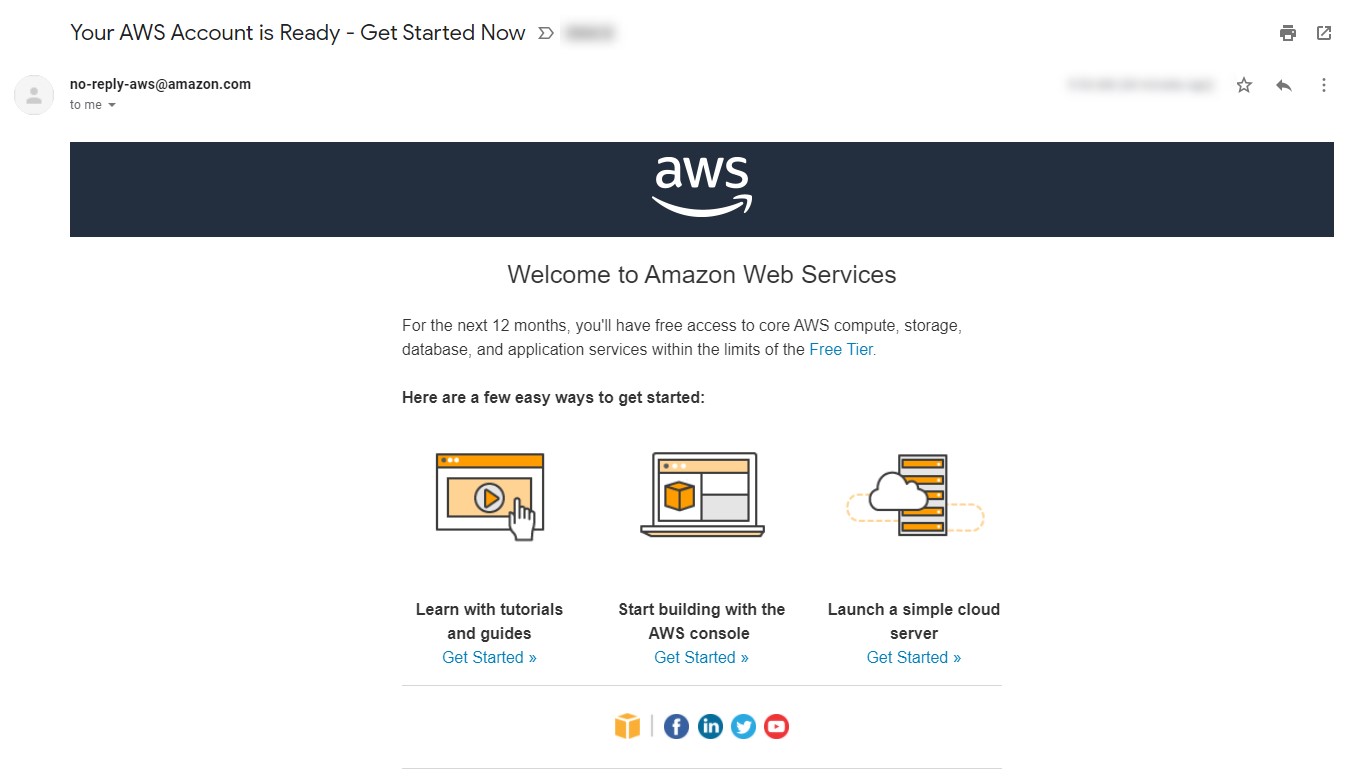
คุณจะได้รับ e-mail มาจาก AWS (no-reply-aws@amazon.com) 2 ฉบับ ได้แก่
“Subject: Your AWS Account is Ready – Get Started Now”
“Welcome to Amazon Web Services”
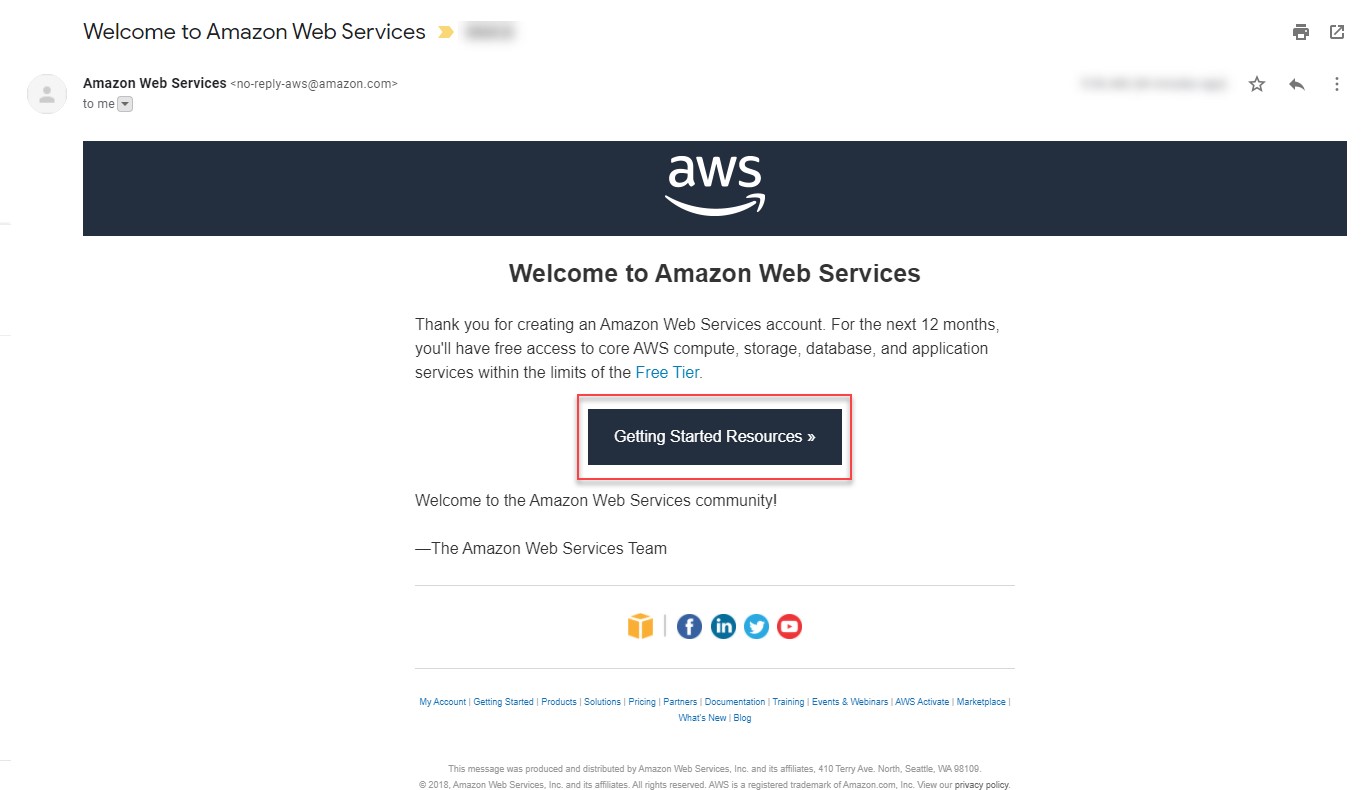
ให้คลิกที่ Getting Started Resources หรือ เปิด Browser แล้วเข้าไปที่ URL: https://aws.amazon.com/getting-started/
STEP 1.3 – Login เข้าใช้งาน AWS Account
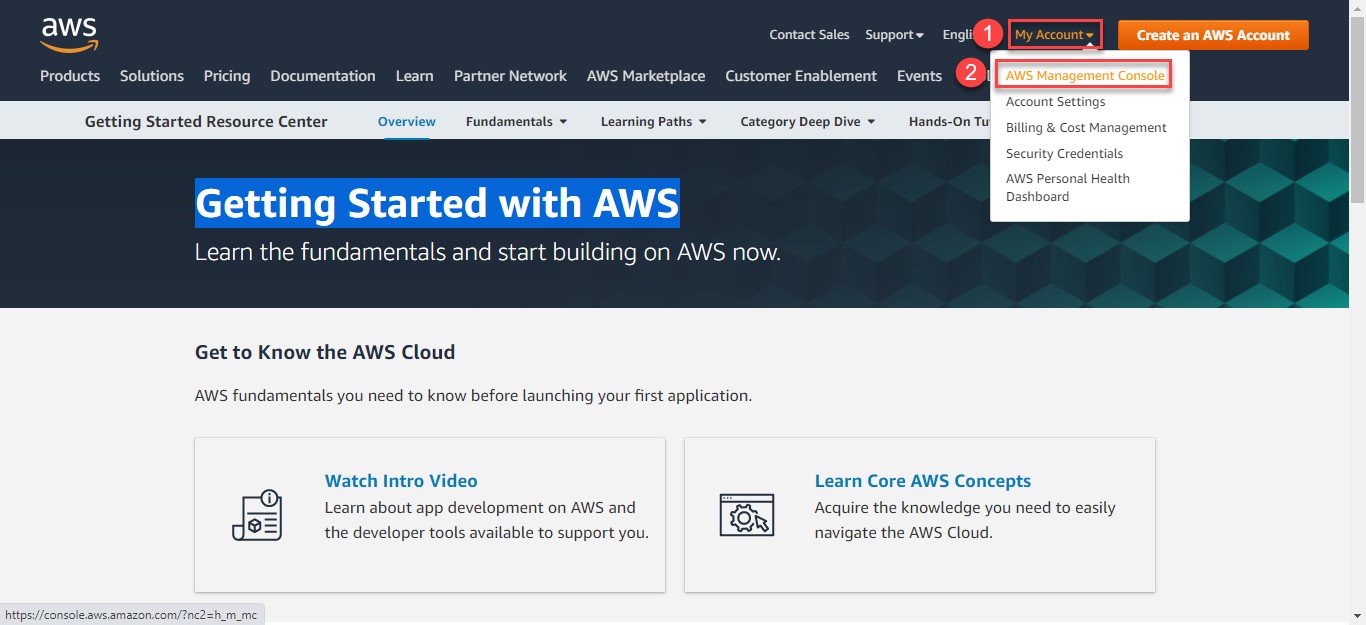
1.3.1 คลิกที่ My Account
1.3.2 คลิกที่ AWS Management Console
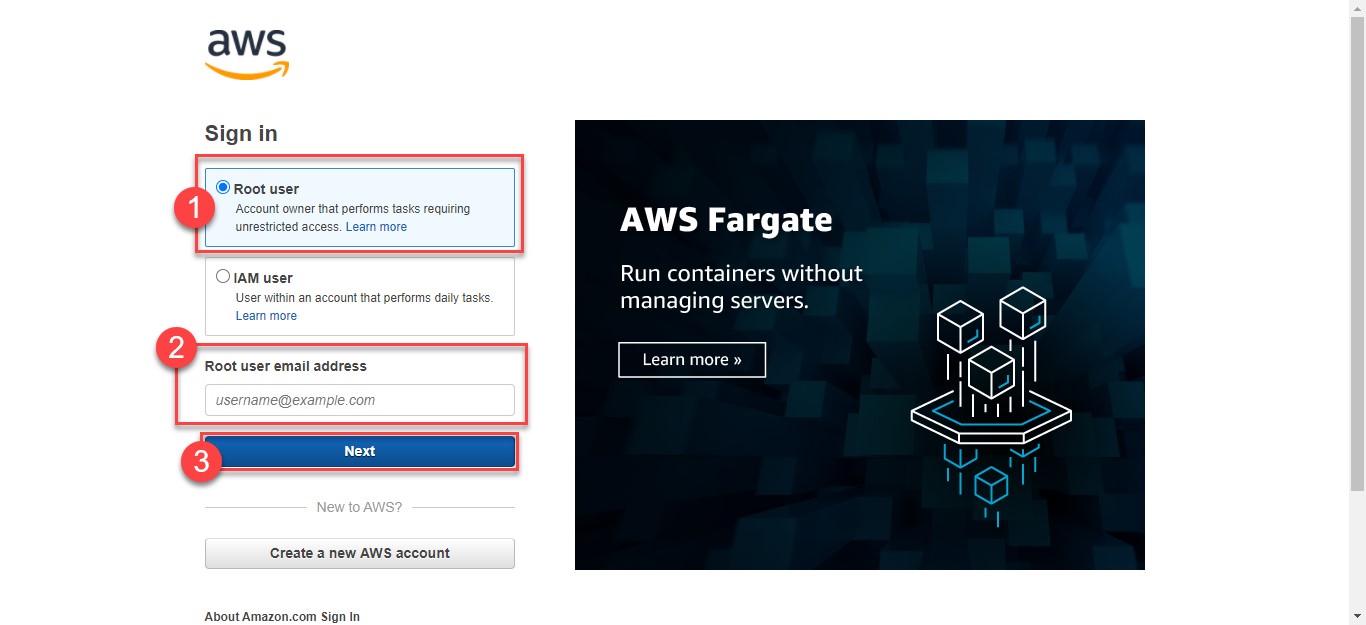
1.3.3 ที่ AWS Management Console วิธี Sign-in ให้เลือกเป็น Root user > ให้กรอก e-mail ที่คุณใช้สมัคร AWS Account ที่ Root user email address > คลิก Next
1.3.4 กรอก Security check > คลิก Submit
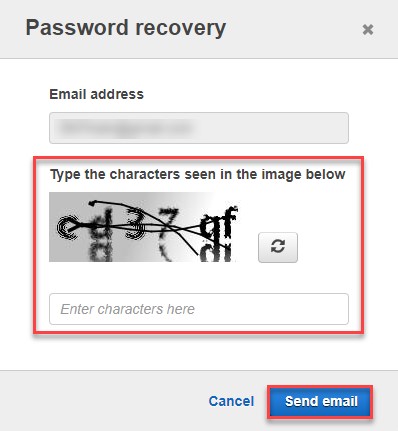
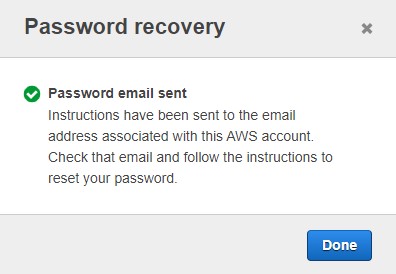
1.3.5 คลิก Forgot password? > กรอกตัวอักษรตามรูปภาพที่แสดง > คลิก Send email > คลิก Done

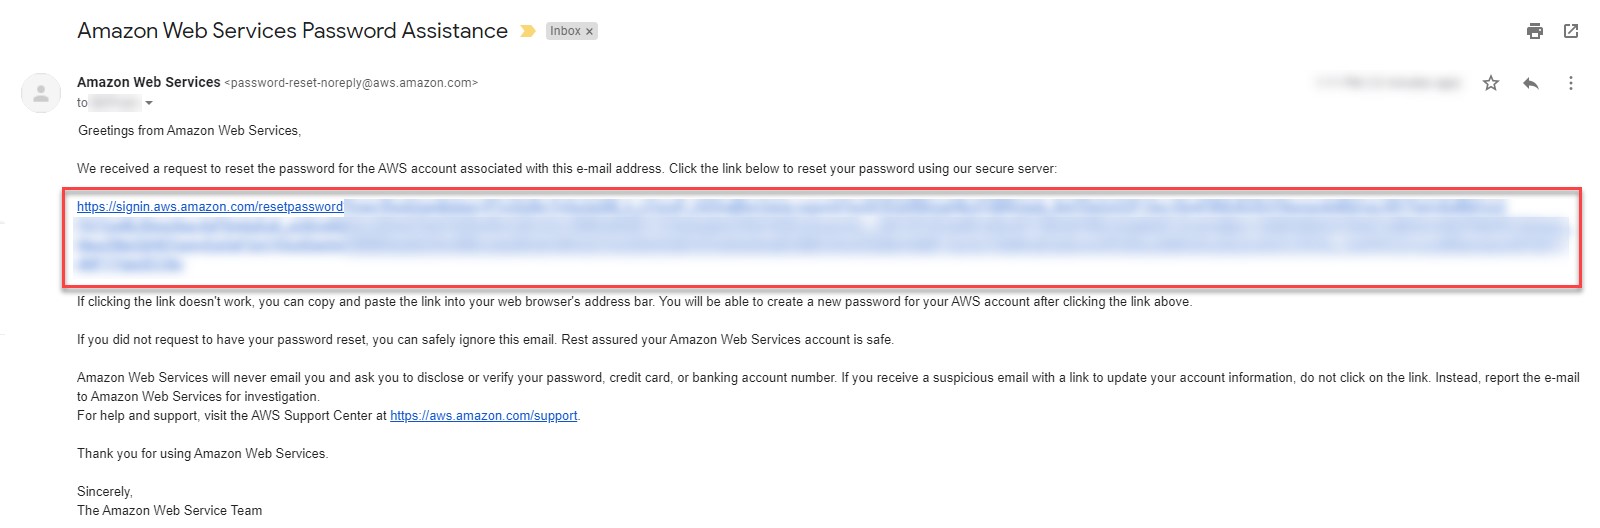
1.3.6 ตรวจสอบ Inbox ใน e-mail address ของคุณ
คุณจะได้รับ e-mail มาจาก AWS (password-reset-no-reply@aws.amazon.com)
“Subject: Amazon Web Services Password Assistance”
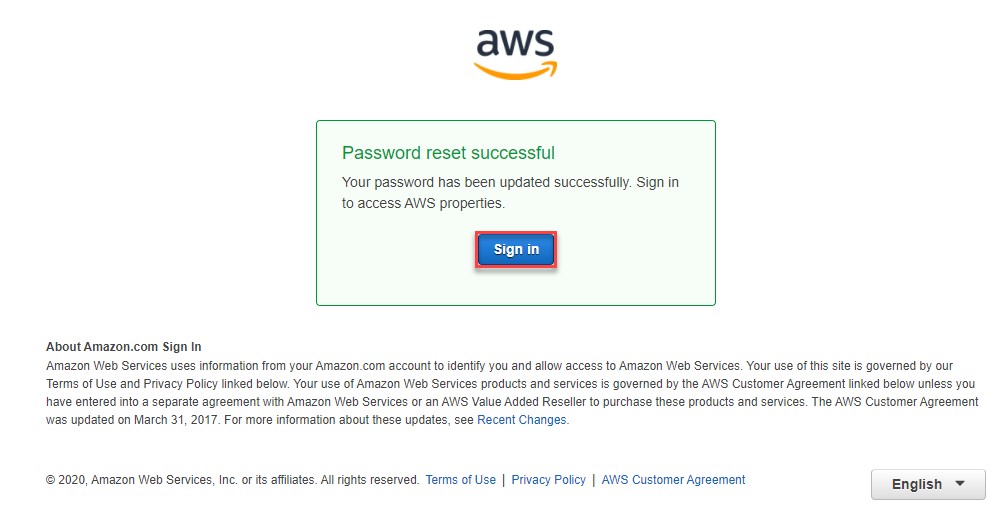
ให้คลิกที่ Link ใน e-mail > กรอก Password, กรอก Confirm password > คลิก Reset password > คลิก Sign in

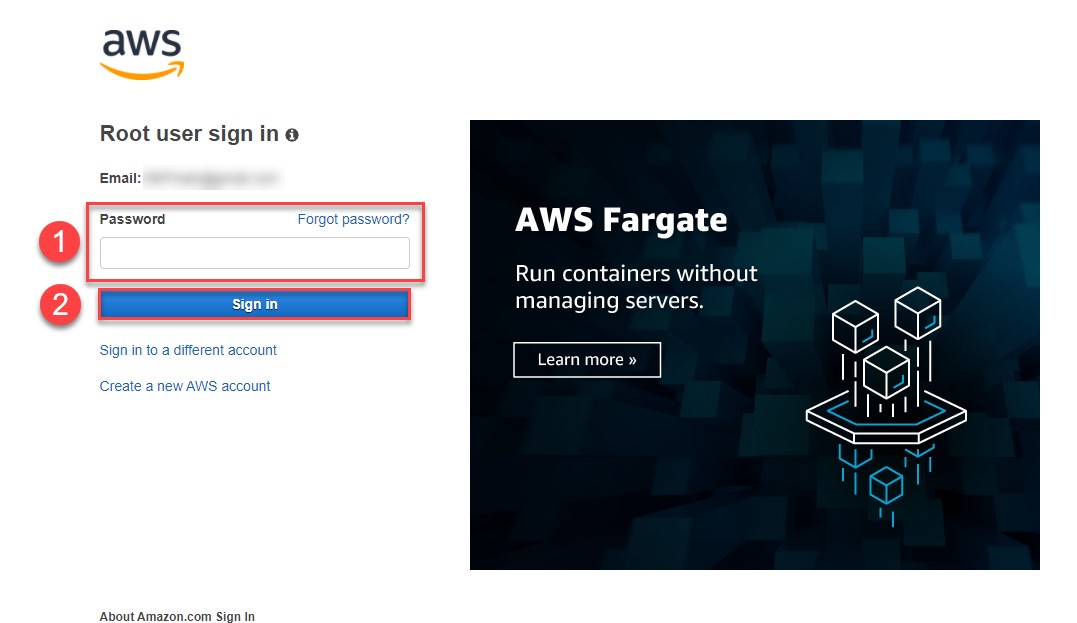
1.3.7 ที่ AWS Management Console วิธี Sign-in ให้เลือกเป็น Root user > ให้กรอก e-mail ที่คุณใช้สมัคร AWS Account ที่ Root user email address > คลิก Next > กรอก Password > คลิก Sign in

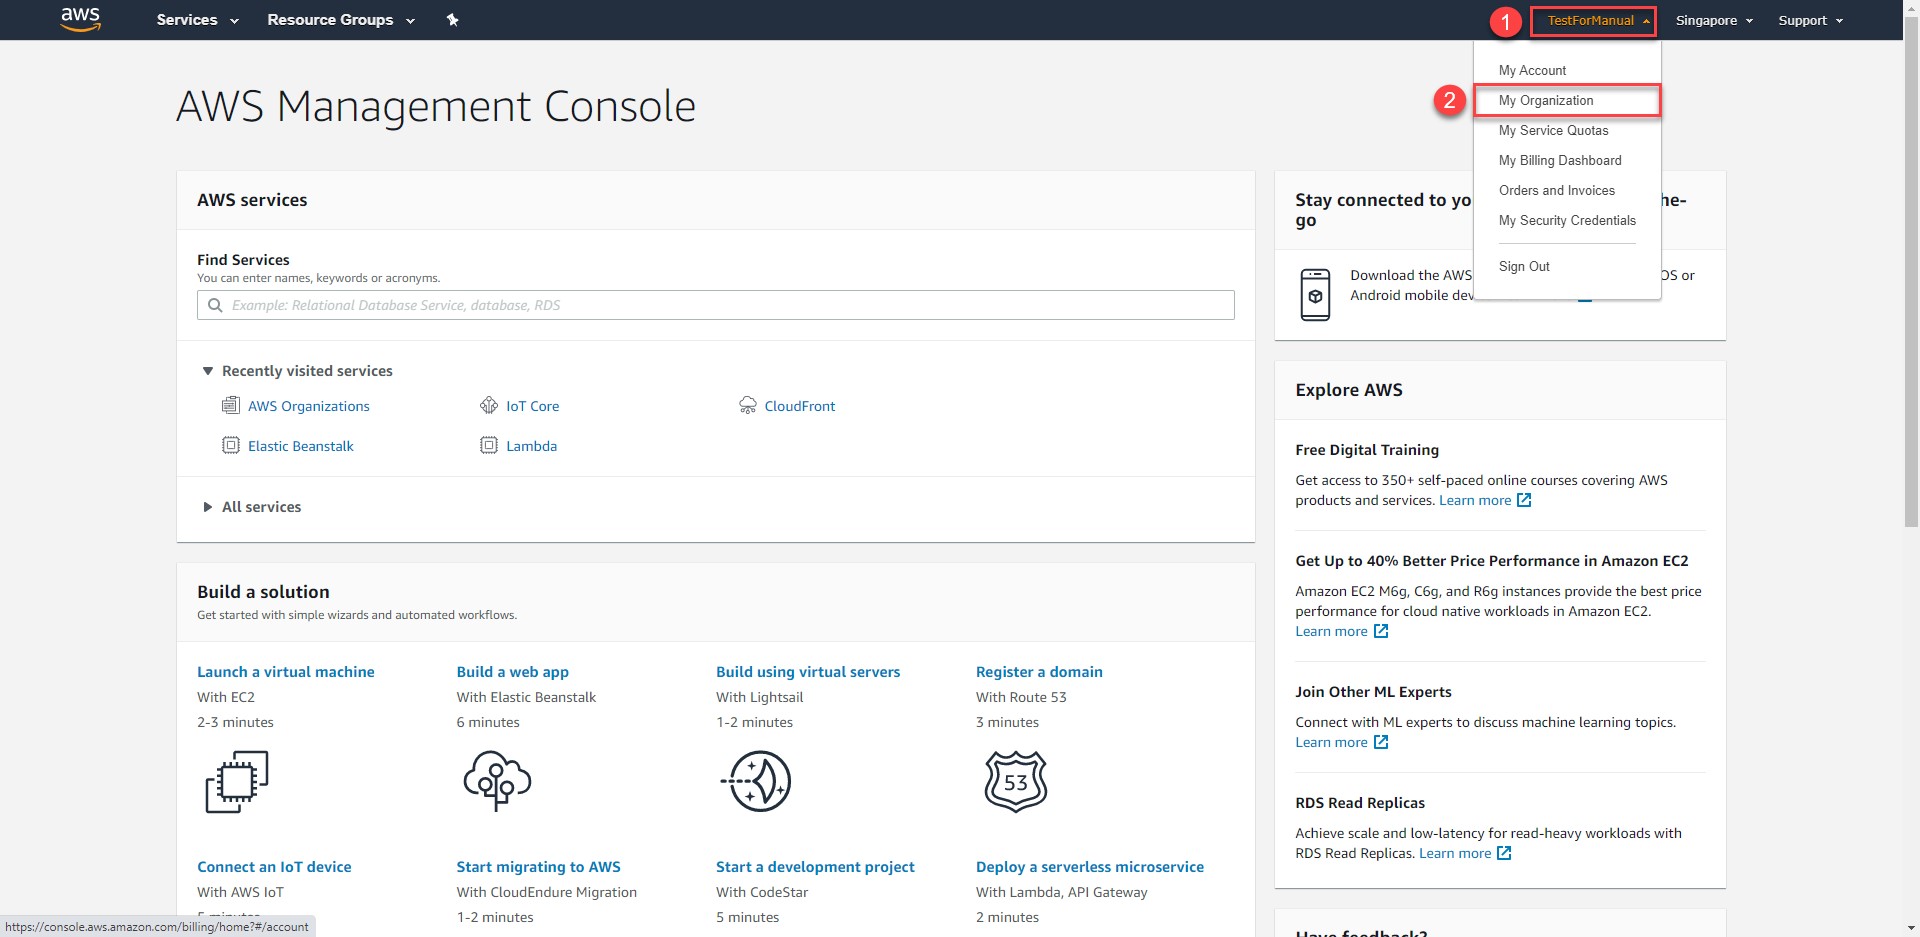
STEP 1.4 – หลังจากเข้าใช้งาน AWS Management Console เรียบร้อยแล้ว ให้คลิกที่ User ทางด้านขวาบนของ Web Page > คลิก My Organization
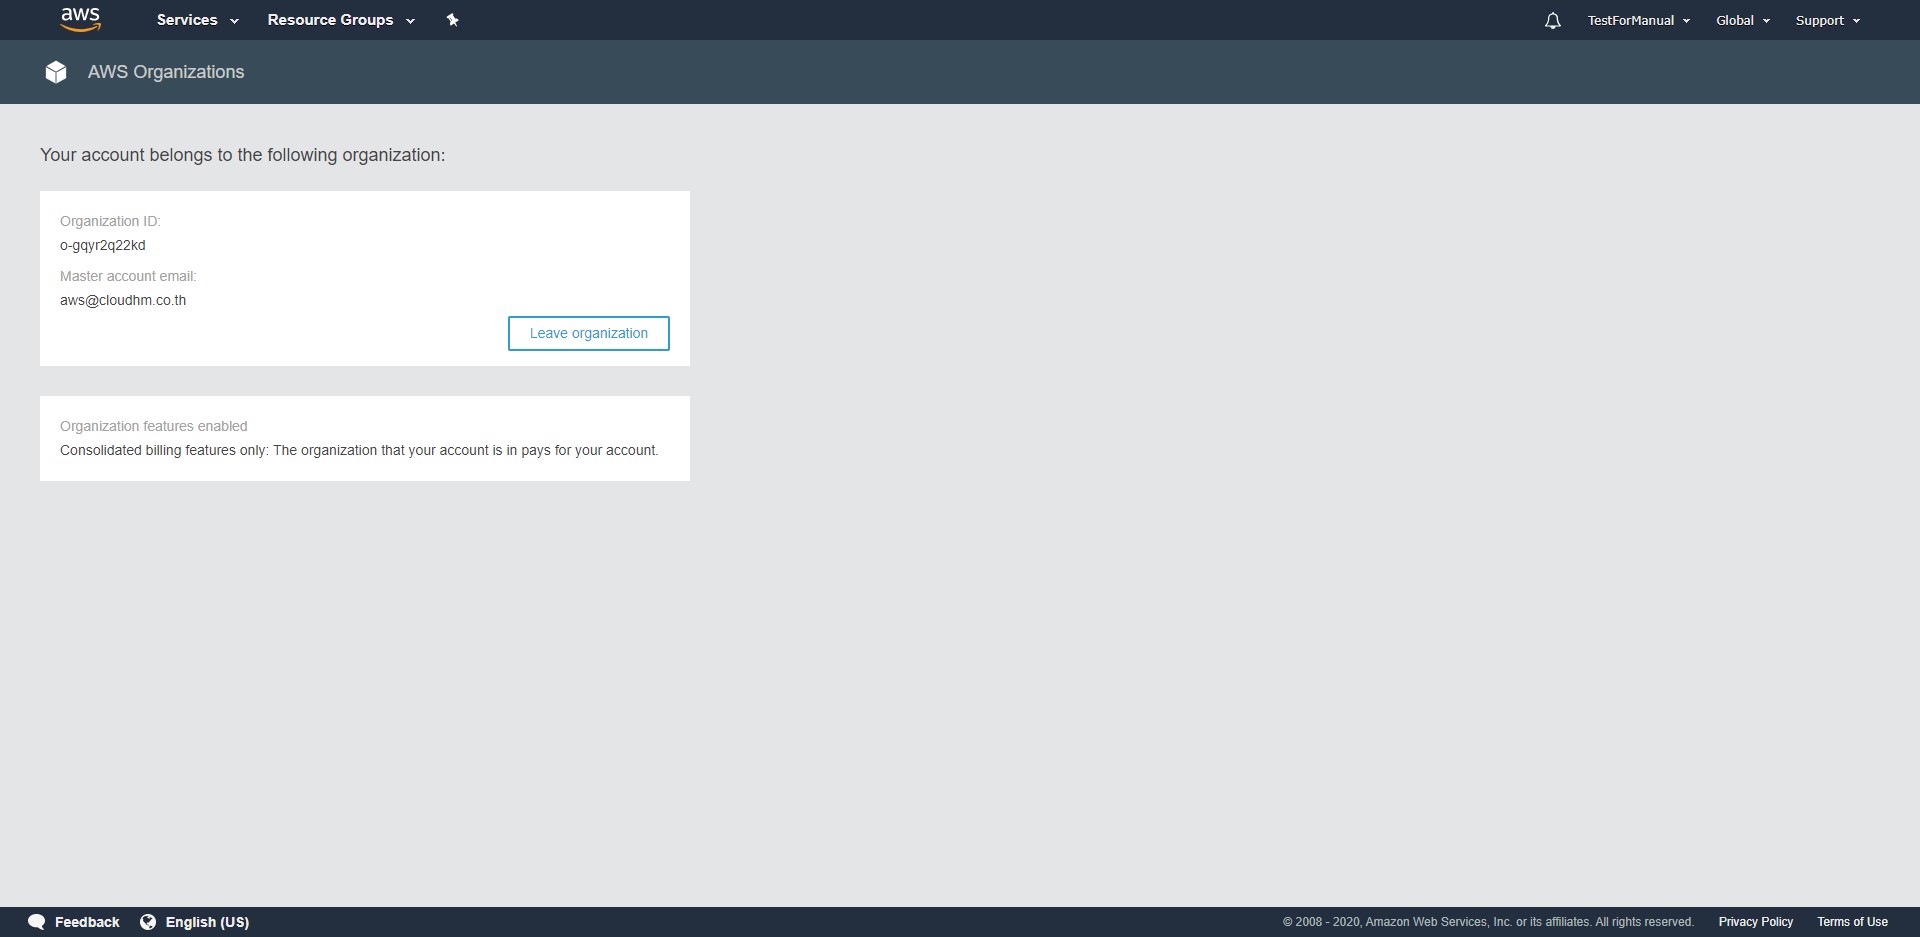
จะพบว่า Account ของคุณอยู่ภายใต้ Cloud HM แล้ว
STEP 1.5 เริ่มต้นการใช้งาน AWS Service ได้ทันที
รูปแบบที่ 2 – ลูกค้าที่มี AWS Account
STEP 2.1 - แจ้งให้ Cloud HM ทำการ Invite AWS Account ของท่าน โดยท่านต้องระบุข้อมูลให้ Cloud HM ดังนี้
ข้อมูลที่ต้องการ: e-mail address ที่ใช้สมัคร AWS Account หรือ Account ID number
STEP 2.2 - ตรวจสอบ Inbox ใน e-mail address ที่ใช้สมัคร AWS Account ของคุณ
คุณจะได้รับ Invitation e-mail มาจาก AWS (no-reply-aws@amazon.com)
“Subject: Your AWS Account has been invited to join an AWS organization”
ให้เข้าไปอ่านเนื้อความภายใน e-mail สังเกตว่าจะมี Link ที่จะเข้าไปที่ AWS Organizations console
ให้ท่านคลิกที่ Link ดังกล่าว

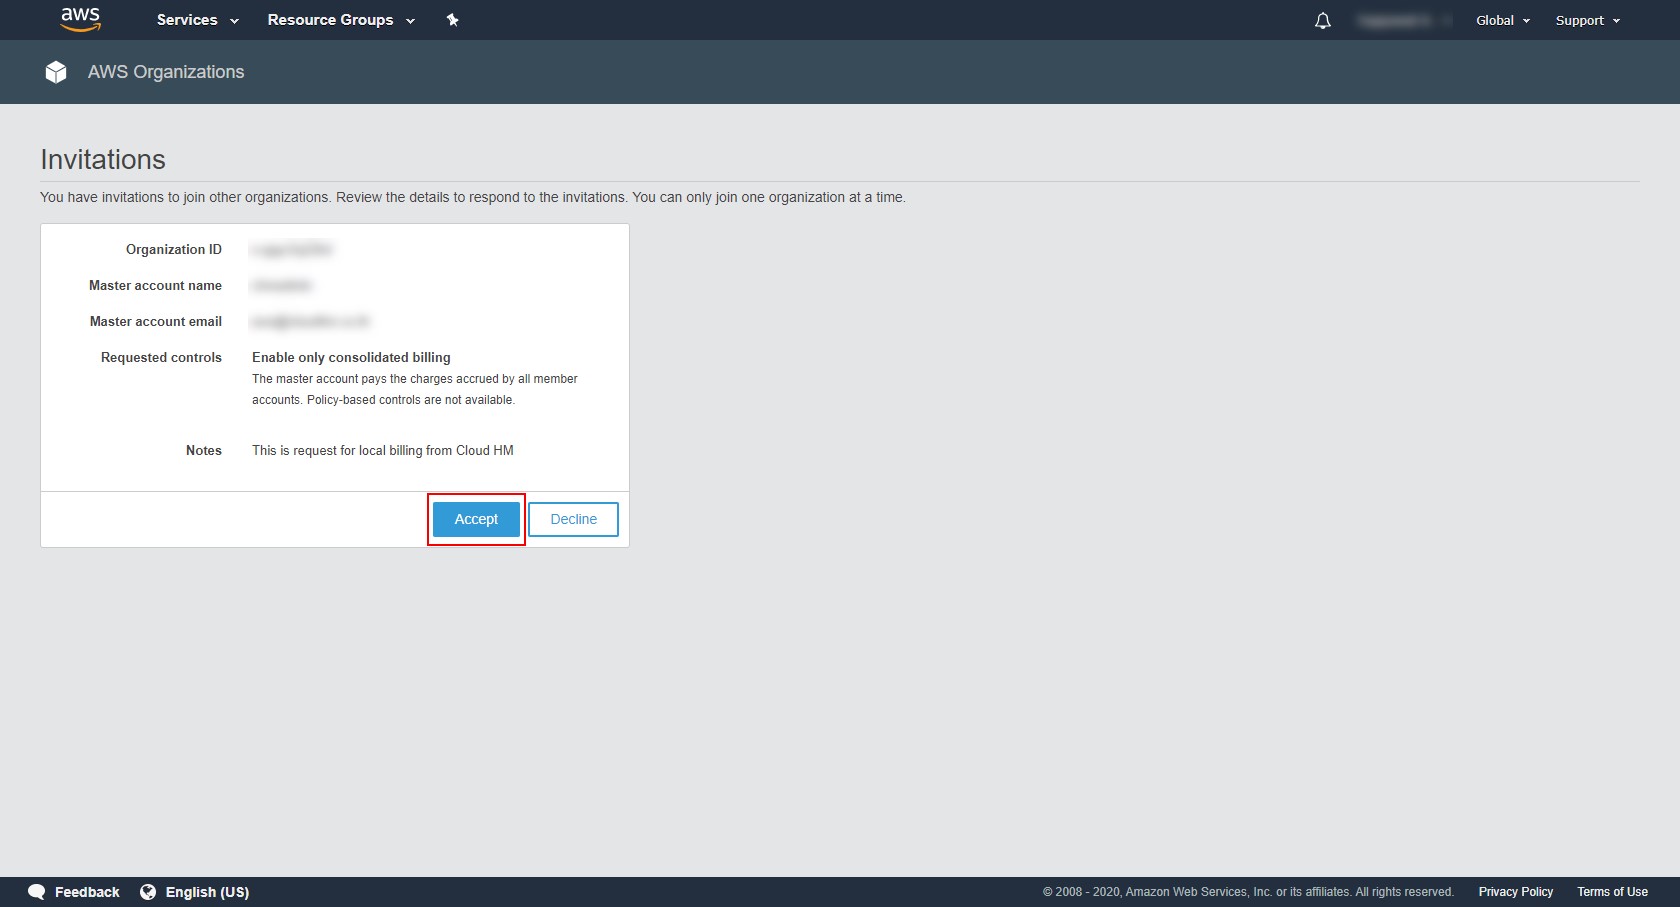
STEP 2.3 – Login ที่เข้าใช้งาน AWS Organizations ด้วย AWS Account ของท่าน จะพบกับหัวข้อ Invitations ที่มีรายละเอียดของ Cloud HM อยู่ ประกอบไปด้วย
Organization ID -> ID ของ Cloud HM
Master account name -> Account ของ Cloud HM
Master account e-mail -> e-mail ของ Cloud HM
Requested controls -> Enable เฉพาะ Consolidated billing และ Notes
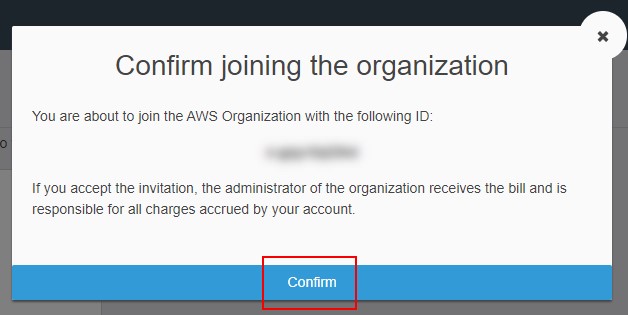
คลิกที่ Accept เพื่อเข้าร่วม Organization -> คลิก Confirm เพื่อยืนยันการเข้าร่วม Organization
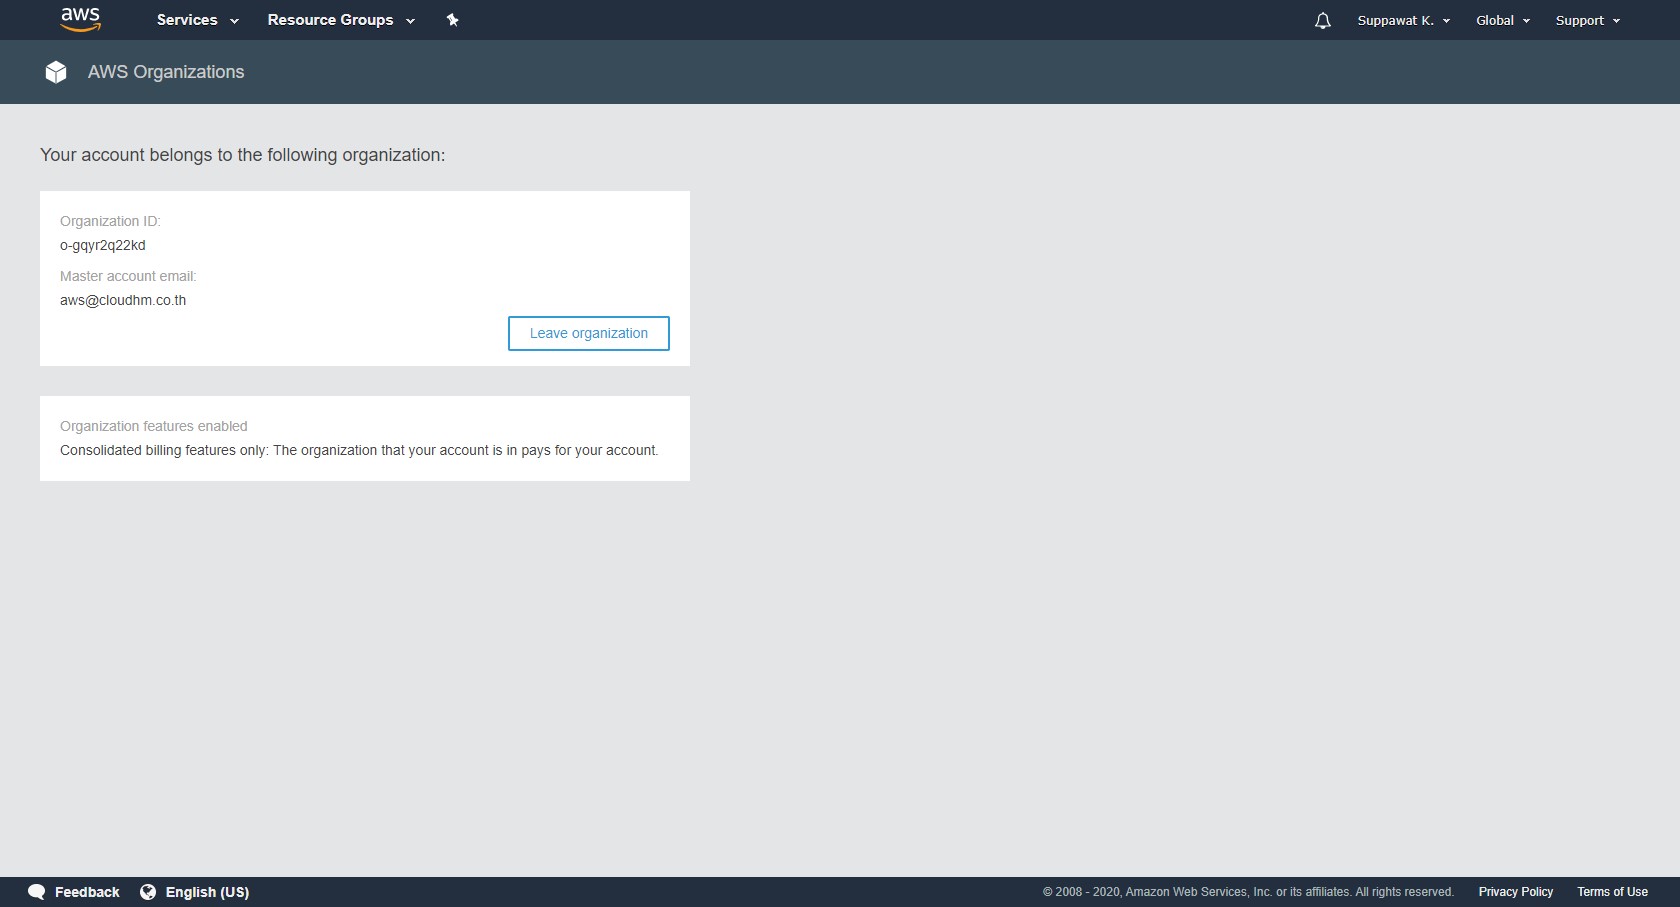
หลังจากเข้าร่วมแล้ว ภายใน Service AWS Organization จะมีรายละเอียดว่า Account ของคุณเป็นส่วนหนึ่งของ Cloud HM ซึ่งมี Feature ที่เปิดไว้คือ Consolidated billing
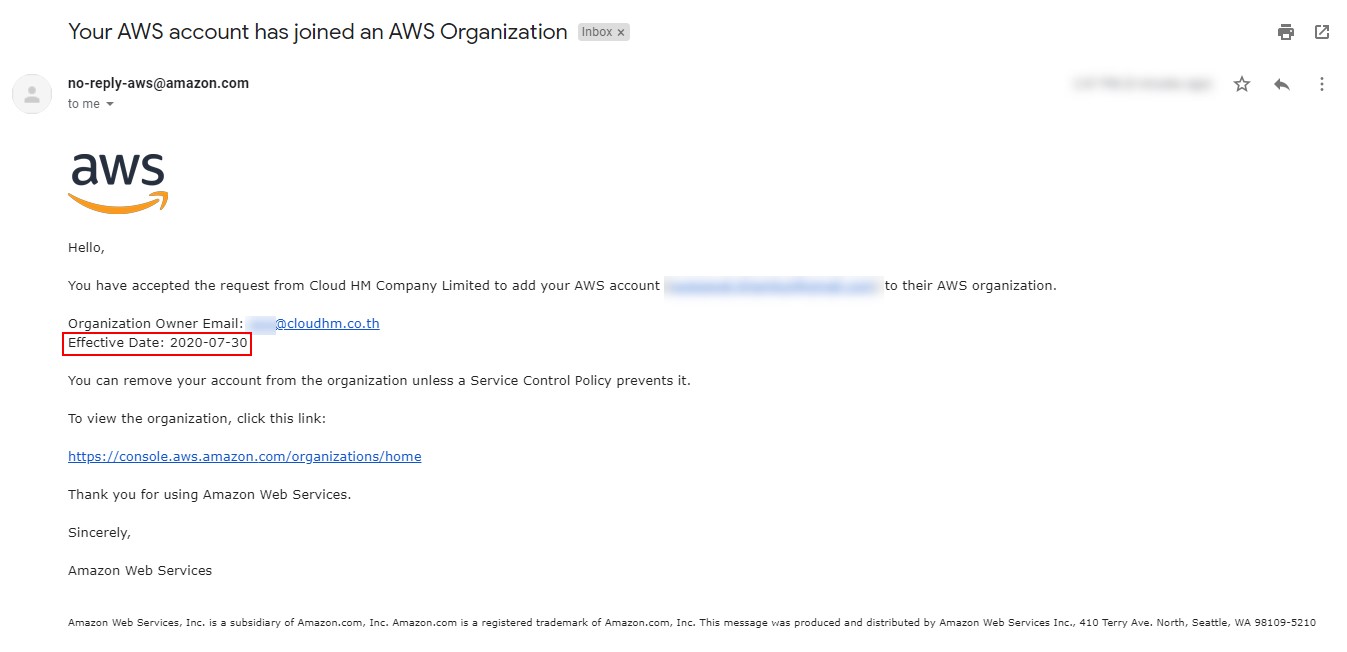
หรือสังเกตจาก e-mail ที่ส่งจาก no-reply-aws@amazon.com
Subject: Your AWS account has joined an AWS Organization
เนื้อความว่า “คุณยอมรับให้ AWS Account ของคุณอยู่ภายใต้ Cloud HM
โดยมีผลตั้งแต่วันที่กด Accept”
STEP 2.4 – ตรวจสอบสถานะของ Billing
สามารถตรวจสอบได้อีกช่องทางหนึ่งหลังจากที่กด Accept ใน STEP 2.3 แล้ว คือ ที่ Consolidated billing จะแจ้งว่า “Your account is now a member of an organization”

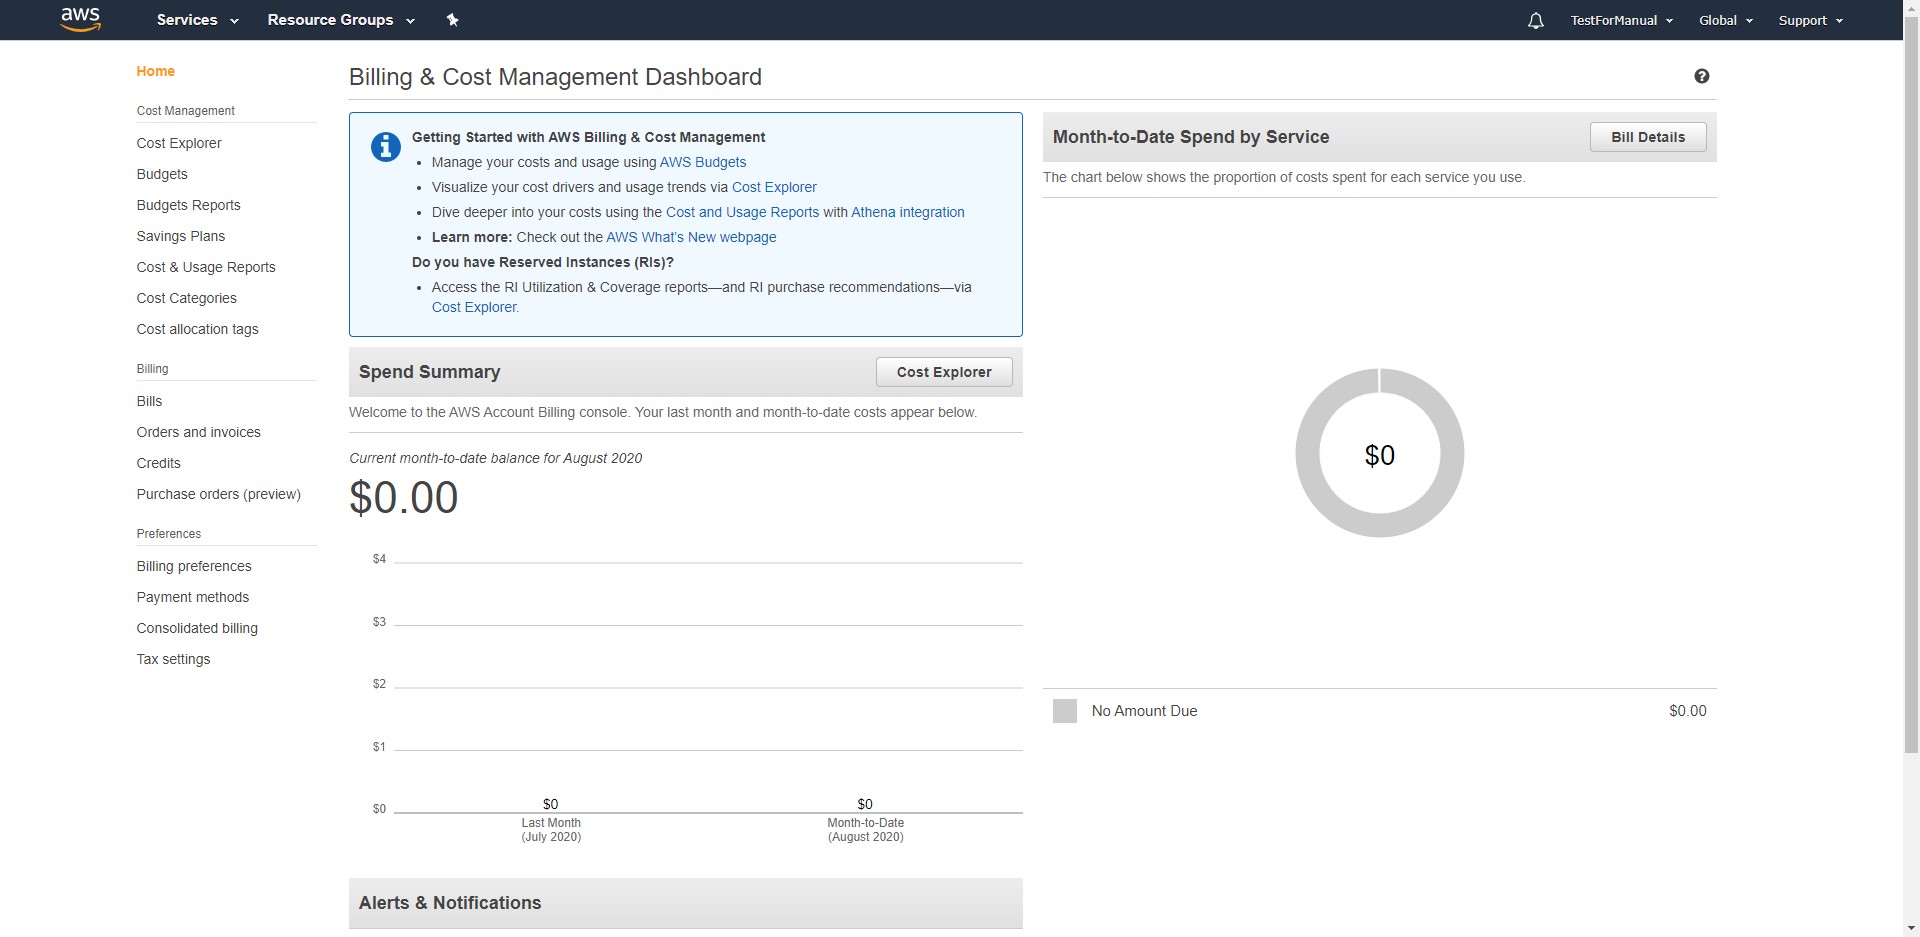
การดูค่าใช้จ่ายระหว่างรอบบิล
หากต้องการดูค่าใช้จ่ายในการใช้งาน ท่านสามารถดูได้ตามปกติเพียงแต่เปลี่ยนจากการจ่ายเงินด้วยบัตรเครดิตเป็นการวางบิลจากทาง Cloud HM เท่านั้น
วิธีการดู ให้คลิกที่ Services > พิมพ์คำว่า Billing แล้วคลิก Pop-up ที่แสดงขึ้นมา
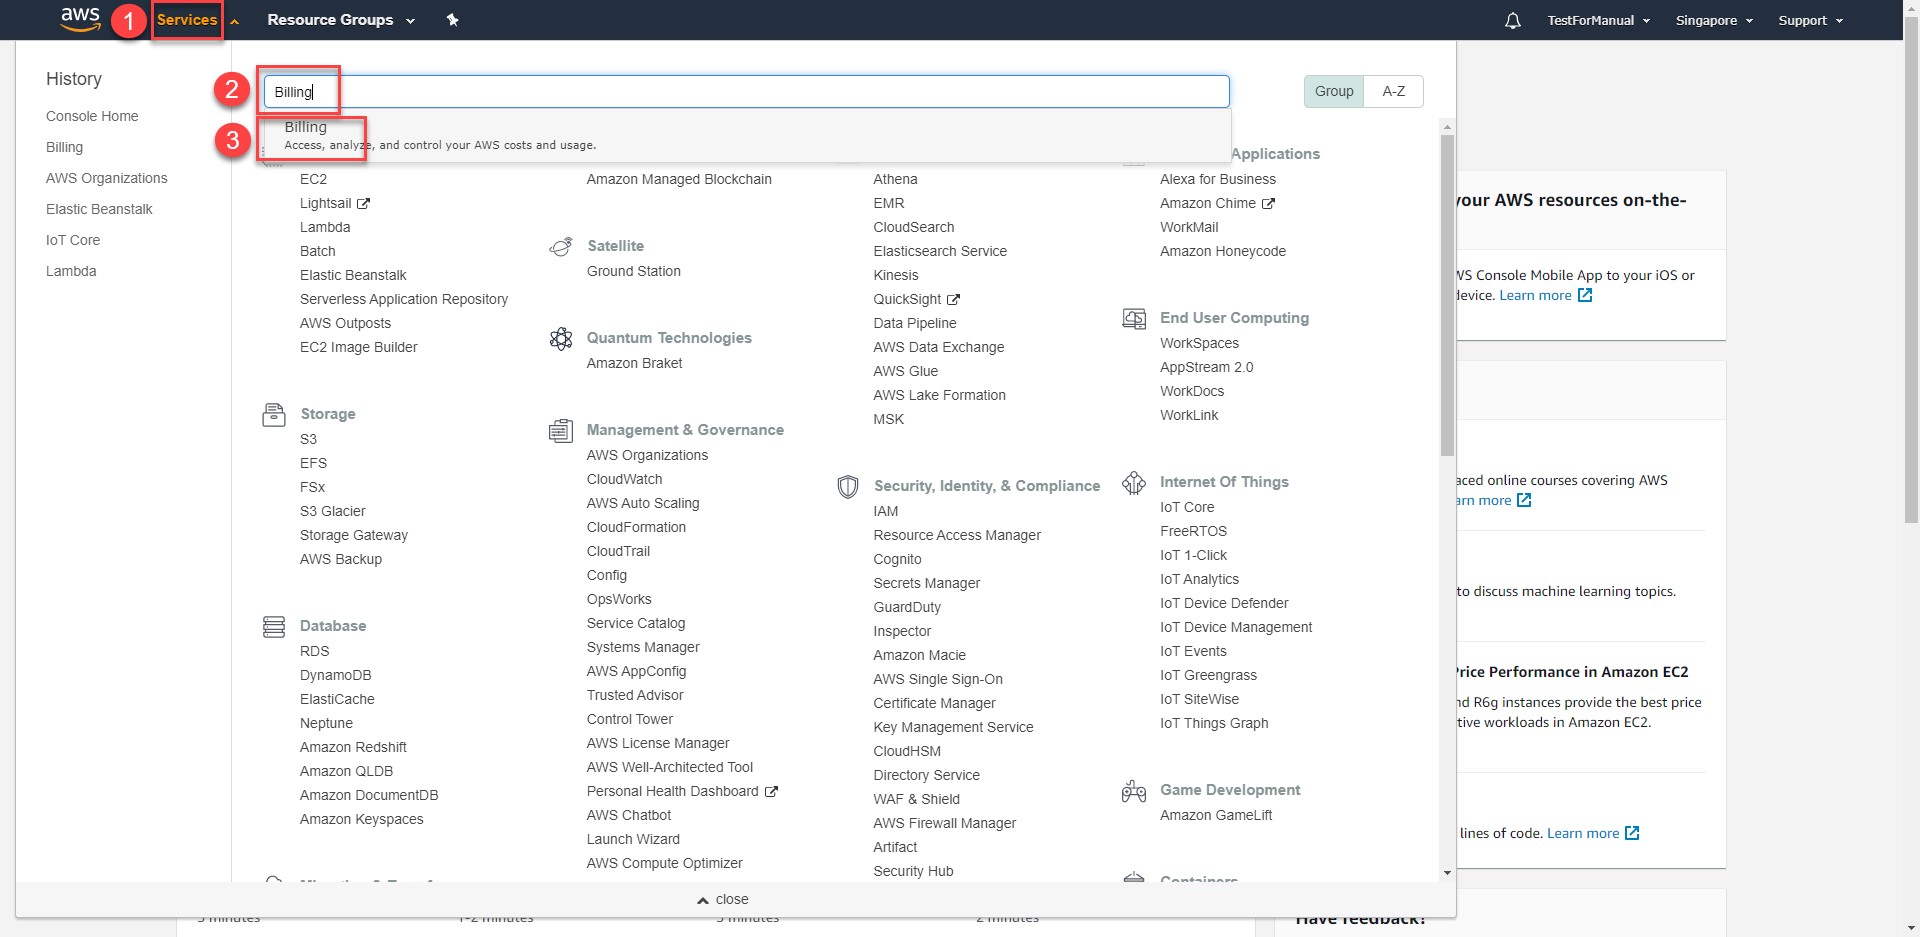
ดูค่าใช้จ่ายทั้งหมดได้จาก Billing & Cost Management Dashboard